Mastering the Halo Blur Effect in CapCut: A Complete Guide (December 2025)
What Is the Halo Blur Effect?
Definition and Purpose
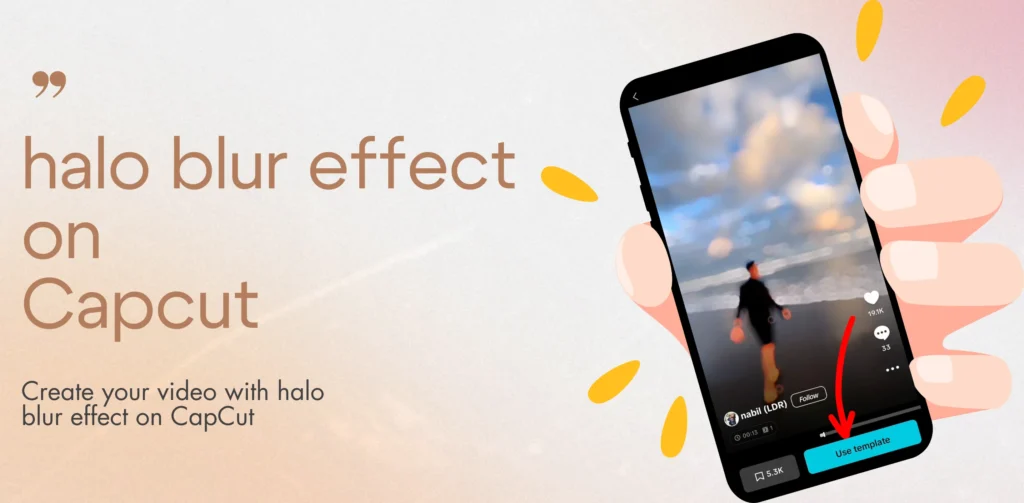
The Halo Blur effect in CapCut is a very unique visual effect that creates a soft, glowing blur effect around a subject. It is designed to enhance the subject’s visibility by blurring the surrounding areas. The halo effect softens the image, giving it a dreamy, pretty look, which is often used in cinematic videos to create a focus point on the subject. This effect works well for adding an artistic touch, making the subject stand out than the surroundings. Other good Capcut effects that people can use are Text Overlays in videos and images, and Zoom In magic effects.
The main purpose of this effect is to draw attention towards the main subject within the video, whether it is a person, object, or scene. By adding a glowing blur around the main subject, it gives a soft touch, which can make video transitions smoother, enhance portraits, or even making background detail fade out naturally. It is a used to create beautiful, high quality videos with less effort. it is ideal for those looking to add a professional look to their projects.
Common Applications
The Halo Blur effect in CapCut is versatile and can be applied in various creative scenarios. Some of its most common applications include:
- Portrait Enhancements: When it is applied to portraits, the Halo Blur effect gives the background a soft effect, making the subject more clear while maintaining an aesthetically pleasing, blurred effect. It’s widely used in vlogs, music videos, and cinematic shoots.
- Focus Shifts: This effect can help user to shift focus from one part of the frame to another. By blurring different parts of the video, you can make the visual shifts smooth without disturbing the flow of the video.
- Artistic Transitions: This effect is often used by filmmakers to create very smooth transitions, making the transitions less time taking. It is particularly helpful for merging two scenes together.
How to Apply the Halo Blur Effect in CapCut
Step-by-Step Tutorial
1. Download and Install CapCut: Firstly, download the CapCut app on your device. You can download it from the App Store for iOS or Google Play for Android. After the download is completed, instal the app.
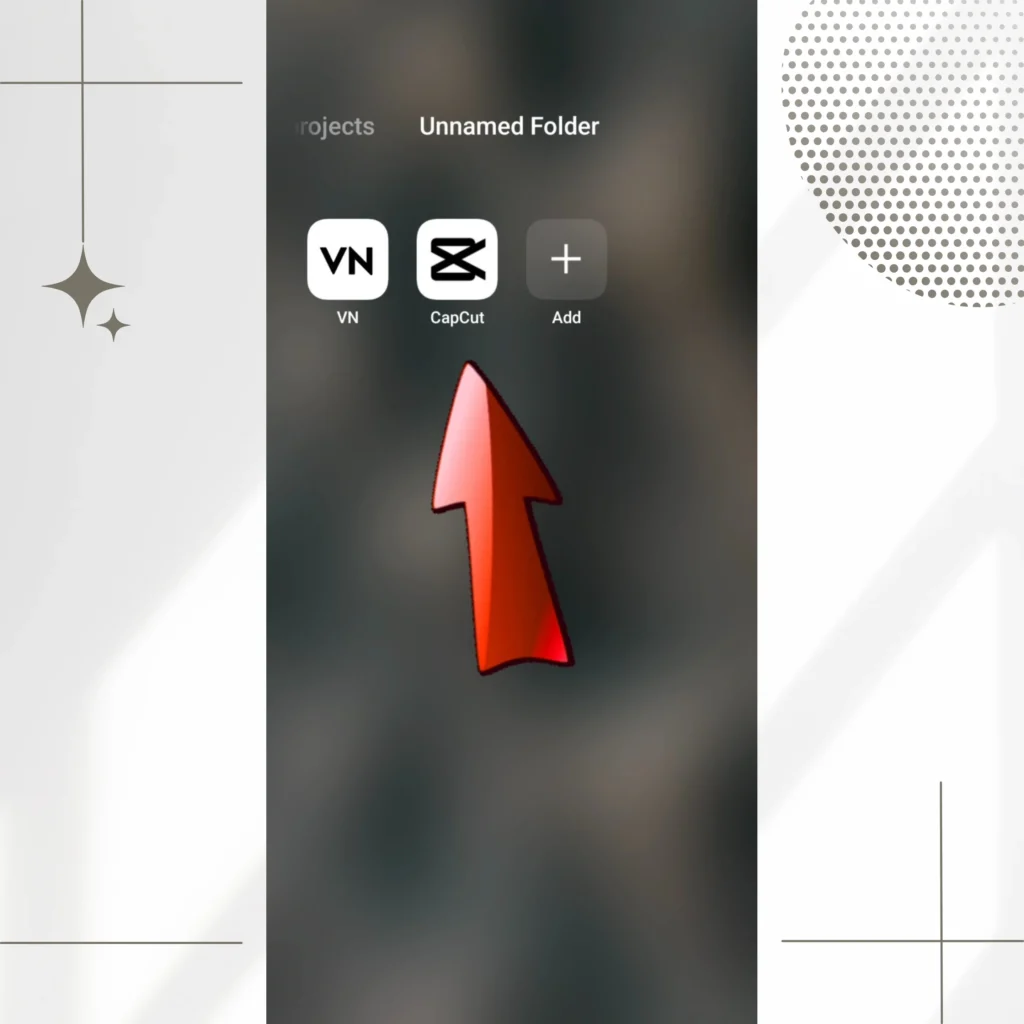
2. Open the CapCut App: Once installed, open the CapCut app on your device.
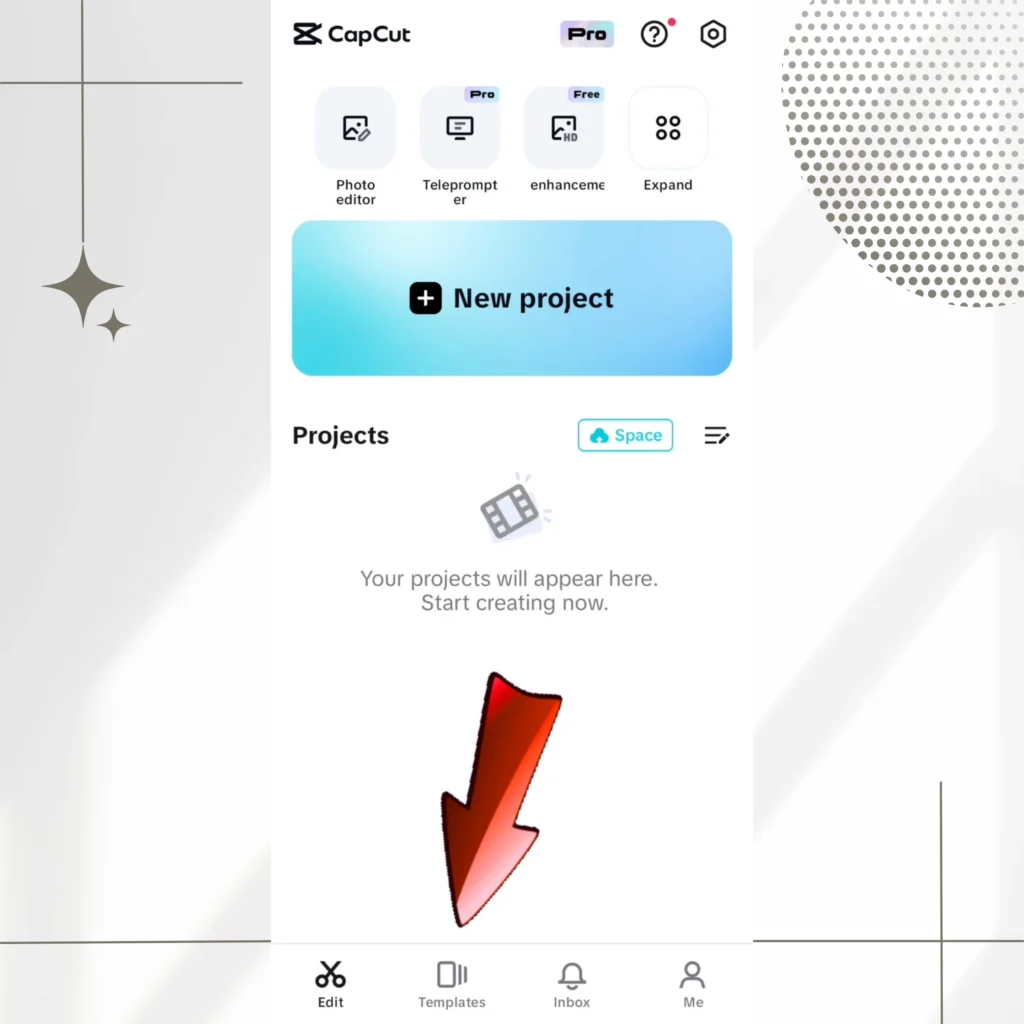
3. Find the “Effects” Section: After opening the app, find the “Effects” section, which is present next to the “Edit” tab at the bottom of the screen.
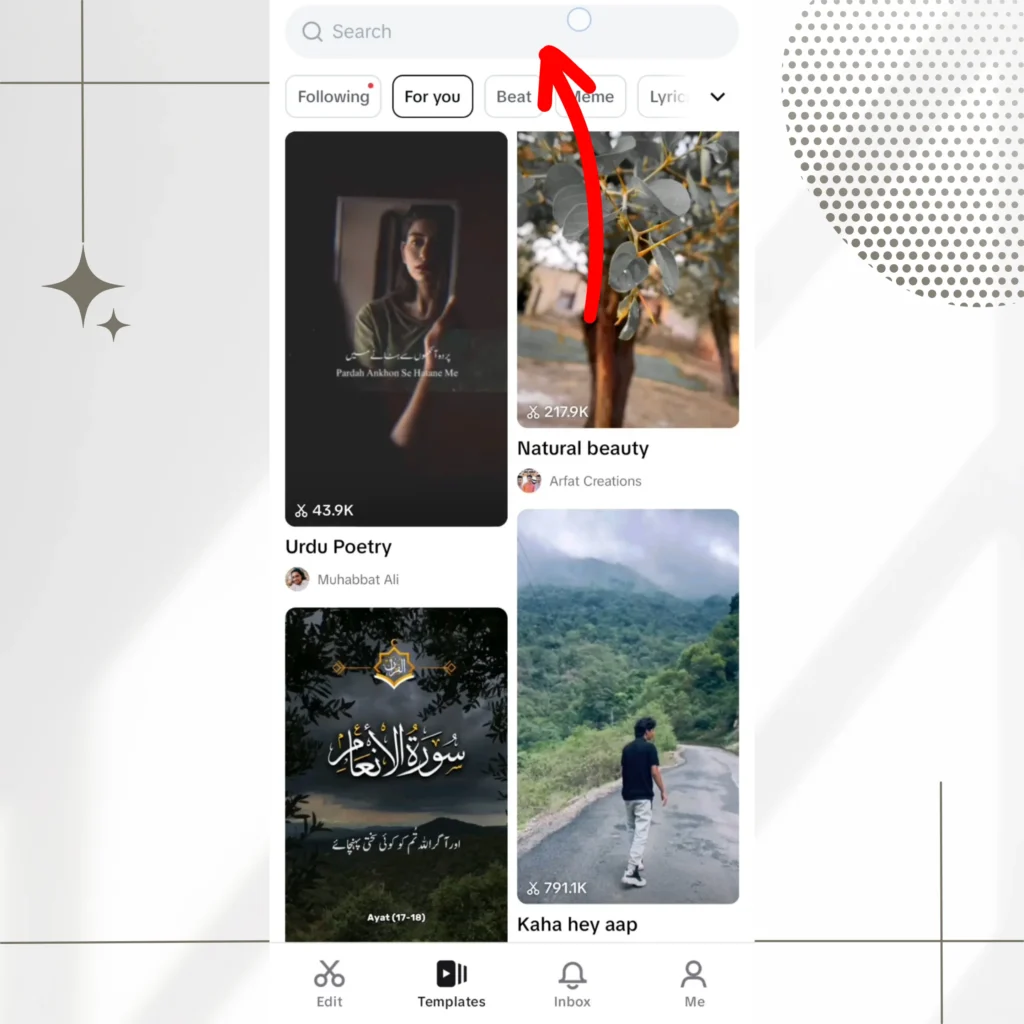
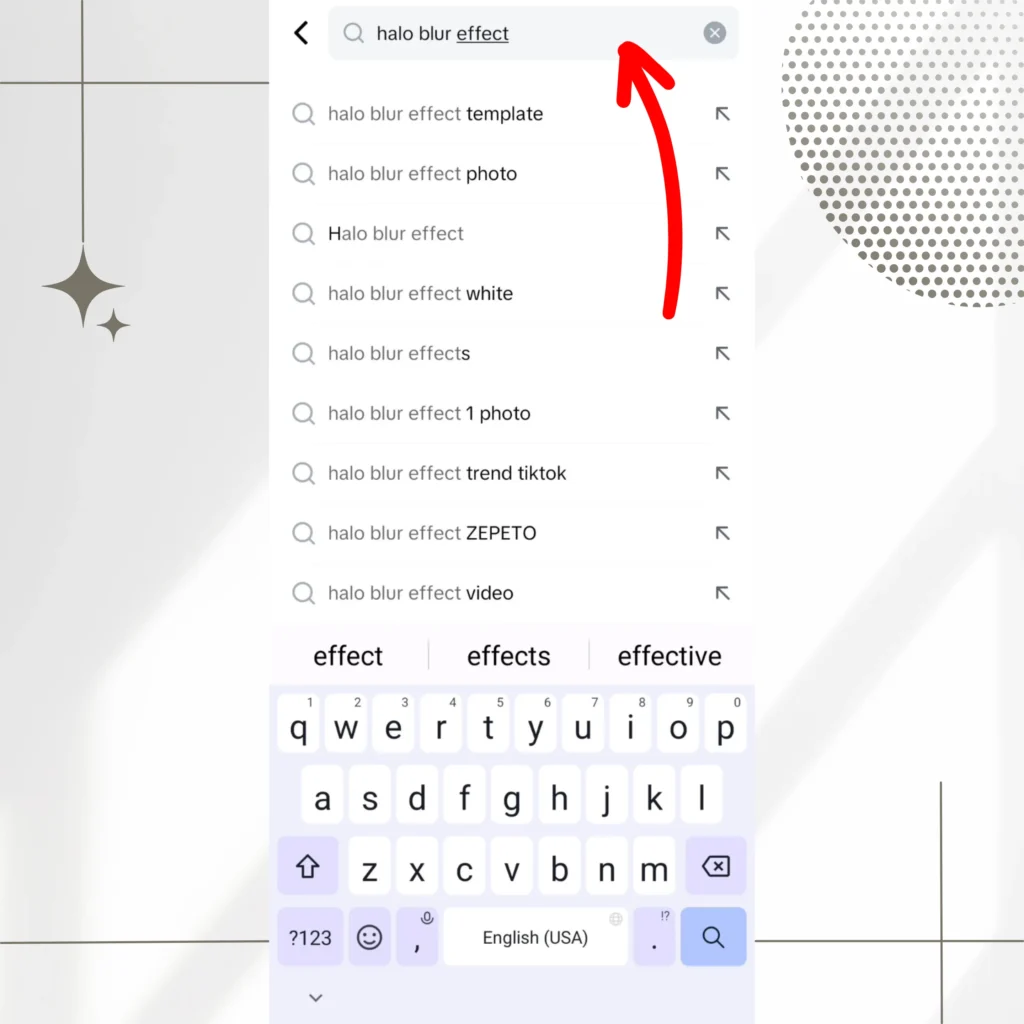
4. Search for the Halo Blur Effect: In the “Effects” section, you’ll see a search bar at the top of the screen. Tap the search bar and type in “Halo Blur.”
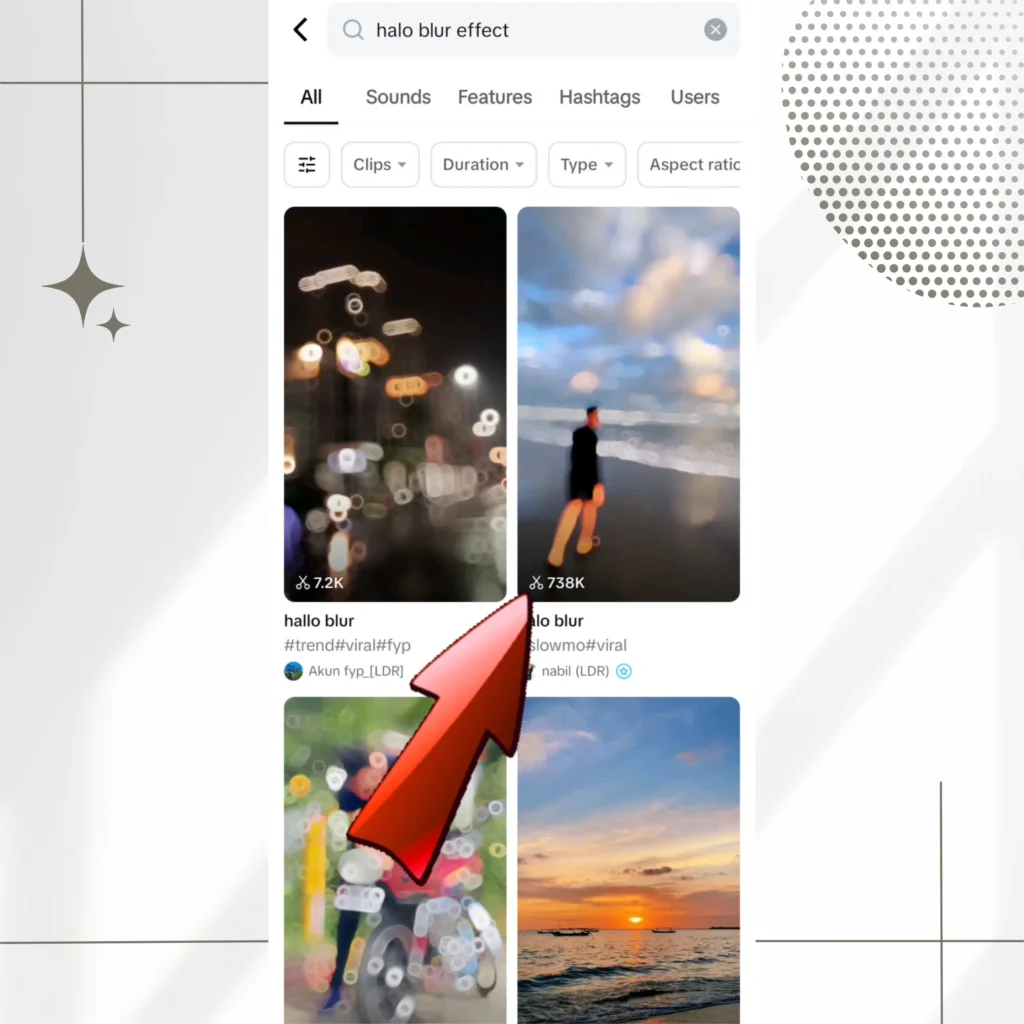
5. Select the Halo Blur Effect: Once you find the Halo Blur Effect, click on it. The effect options will be opened.
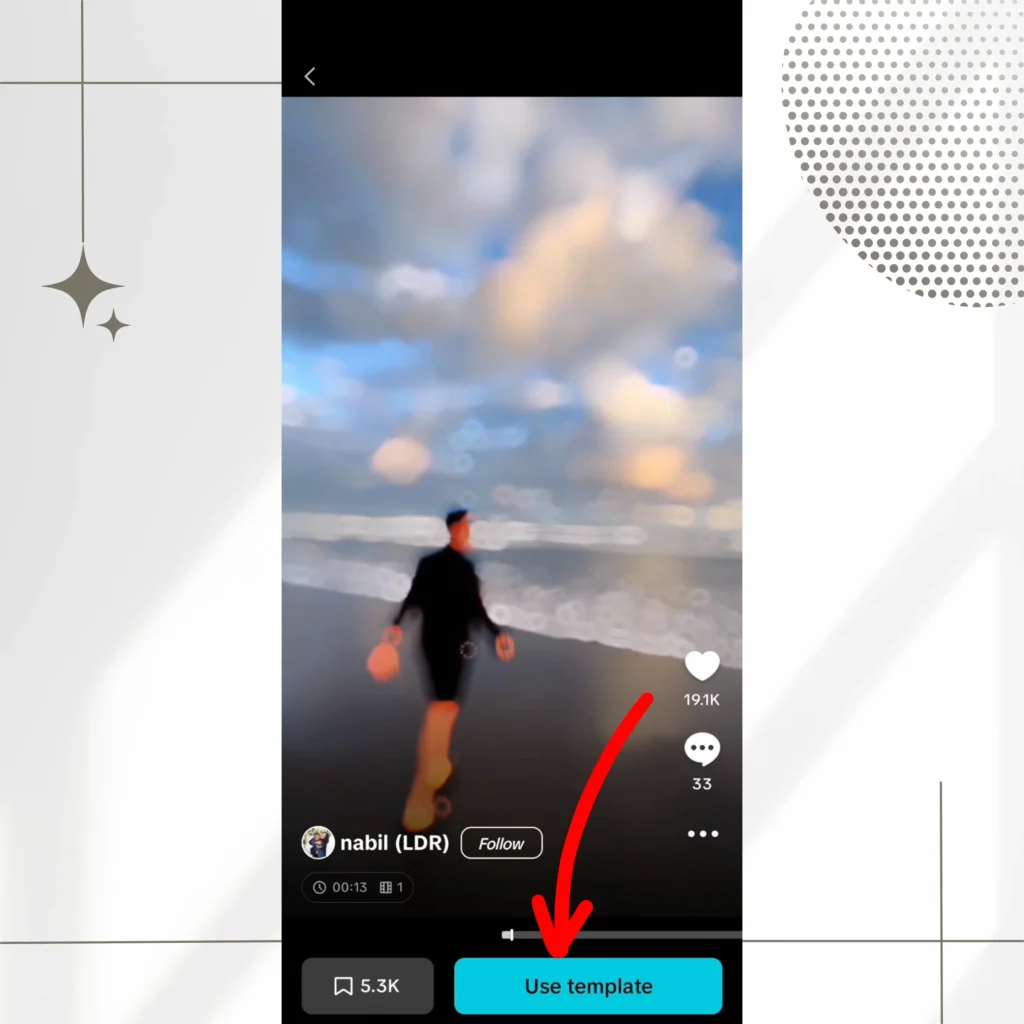
6. Apply the Effect to Your Video: Below the effect preview, you’ll see a button that says “Apply Effect.” Click on it to apply the Halo Blur effect to your video.
7. Adjust the Intensity and Focus Area: Now you can adjust the intensity of the blur on the background and choose the area of the focus. You can use the sliders to adjust the blur intensity and also emphasize the subject.
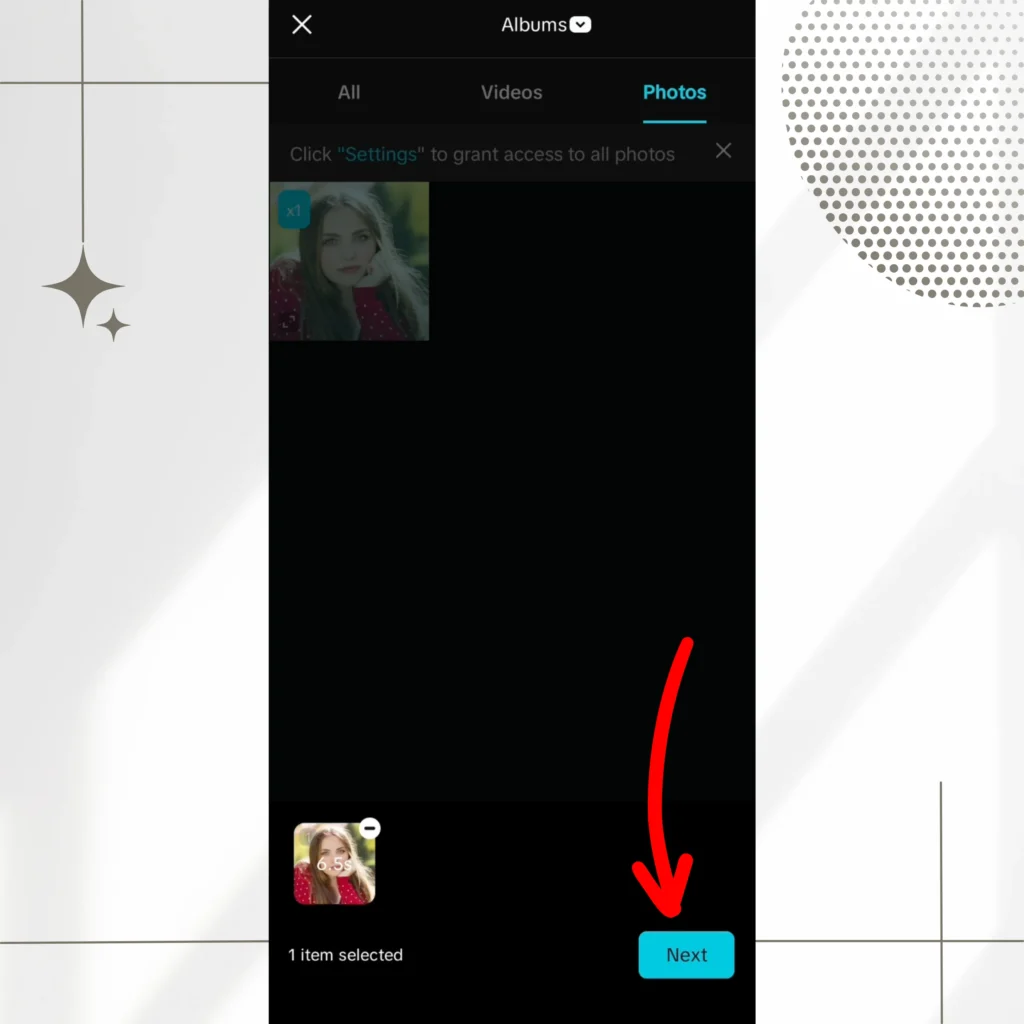
8. Customise the Effect: After applying the effect, you can further customise it by adjusting the focus or blur area, blending the blur area with other elements and making the visuals more sharp.
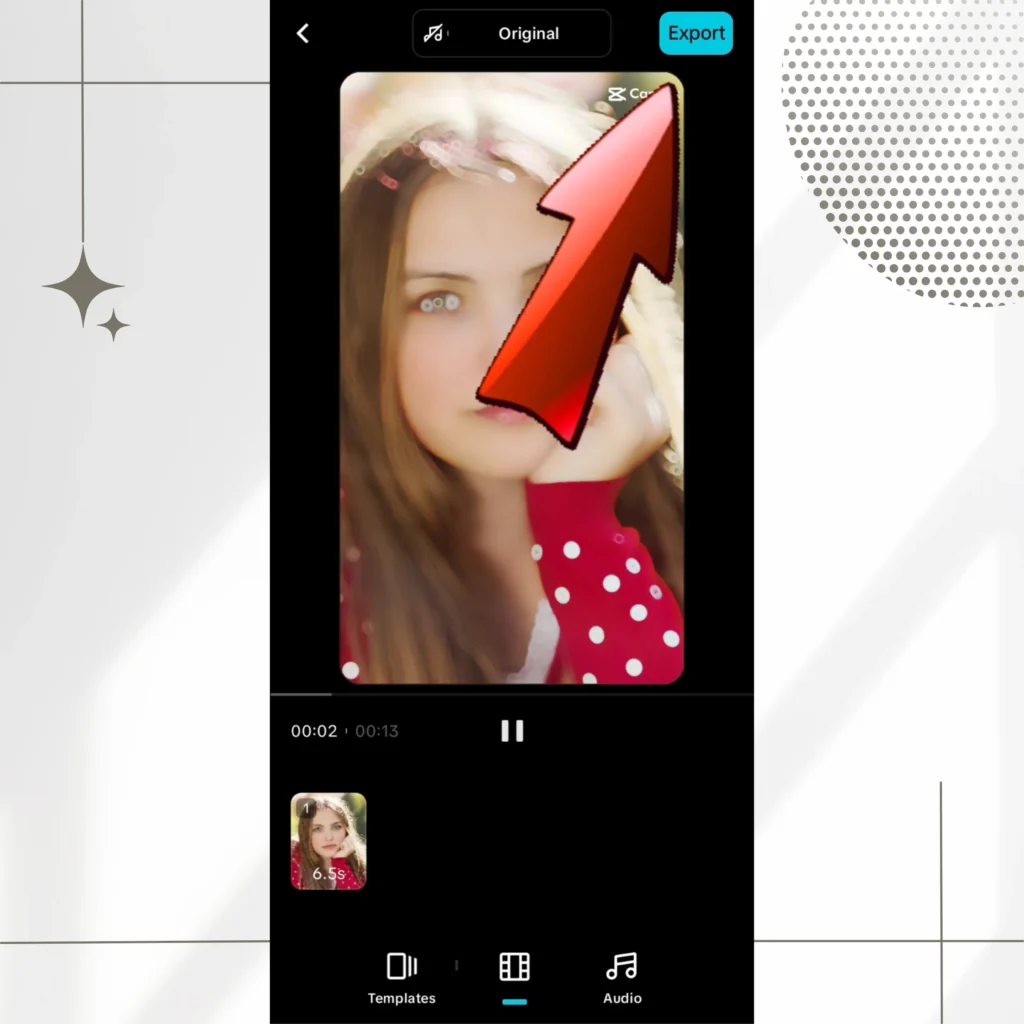
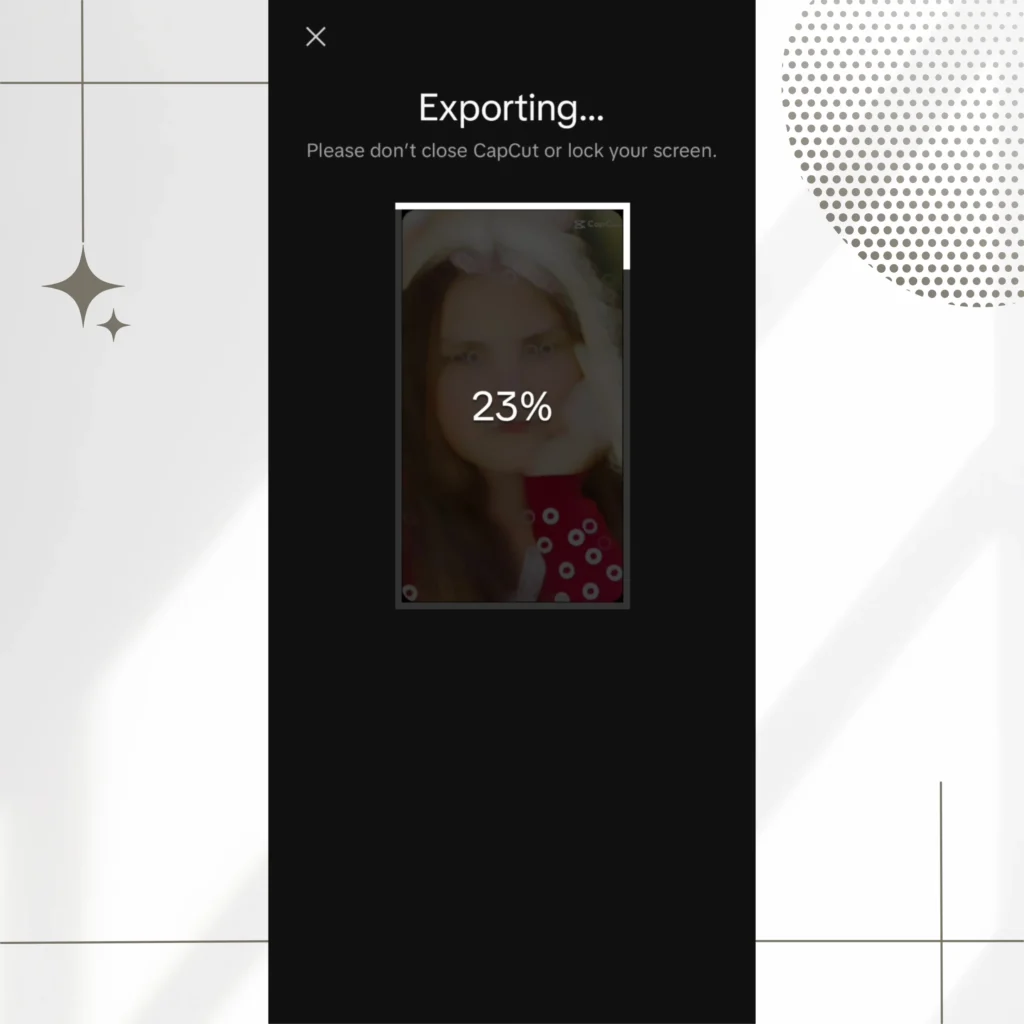
9. Preview and Export the Video: Once the editing is done and you are satisfied, preview the video. If everything looks good, click on the “Export” button. The video will be processed and saved to your gallery once the export is done.
Adjusting Intensity and Focus Area
Adjusting the intensity of the Halo Blur effect is essential for controlling how light or dramatic the effect will be. To modify it:
- Intensity Control: In CapCut, after applying the Halo Blur effect, you’ll see a slider to adjust the intensity of the blur. Higher is the intensity, the more pronounced is the blur, whereas lower is the intensity, more softer and gentler is the look.
- Focus Area Adjustment: The focus area represents the section of the project that should be sharp and clear. You can adjust the focus and blur areas manually. This is essential for emphasizing the subject and also keeping the beauty of the background as well.
Creative Uses of the Halo Blur Effect
Enhancing Portraits
By using the Halo Blur effect, you can simply make your video appealing. Softening the background ensures that the object is visible without any distractions. This effect is widely used in music videos, promotional content and social media posts so that you can give a professional touch and make the visuals captivating.
Highlighting Key Elements
The Halo Blur effect help you empahsize specific elements within a scene. For instance, in a product video, you can use this effect to make the product the central point o that the viewer’s attension only to the product. Similarly, in educational or tutorial videos, it can be used to focus on the speaker.
Artistic Transitions
The Halo blur effect can also be used for smooth transition. As the transition occurs, you can introduce the blur effect as the clip changes. It gives a smooth flow from one clip to another. This is mostly used in video montages, intros, or outros to create a high quality transition.
Troubleshooting Common Issues
Effect Not Showing Up
If the Halo Blur effect isn’t showing up after applying it, try the following:
- Ensure the correct video layer is selected.
- . Sometimes, higher resolutions may cause glitches.So, Check if the video resolution supports the effect.
- Restart CapCut or update the app to the latest version.
Performance Concerns
If you are trying to apply the Halo Blur effect to longer or high resolution video, it can sometime cause issues. To recover this, try:
- Decreasing the video resolution before applying the effect.
- Closing other apps running in the background to free up space.
- Use a device with higher processing power if it is possible.
Alternatives and Similar Effects
Oblique Blur
If you’re looking for a more focused blur effect that directs the viewer’s attention to a specific area without giving that glowing and soft touch. In that case, the Oblique Blur effect is a suitable alternative. It applies a directional blur that can give your video an aesthetic touch, motion-focused feel.
Lens Blur
If you want a soft blur on the background without fading it completely, then try the Lens blur effect of CapCut. This effect is particularly useful for videos where you want the background to fade out with a soft, blurred transition, making it ideal for portrait shots and artistic videos.
Conclusion
Summary of Key Points
Using the Halo Blur effect, you can easily enhance the look of your videos. It provides an aesthetically beautiful and soft touch to the video, focusing only on the subject and blurring the surroundings. This tools allows creators to bring a glamorous look to your project whether its is for a transition or portraits.
Encouragement to Experiment
Now that you know how to apply and customize the Halo Blur effect, it’s time to experiment! Use it in your next video project to see how it can elevate your content. The versatility of this effect is only limited by your creativity.
Now you can easily experiment and use the Halo Blur effect on your next project since you have already know how to apply and customize it. the versatility of this effect is unlimited. It only depends upon your creativity.

